Blind Lettering: A Designer’s Real-World Embroidery Review
First Impressions: Quiet Confidence, Not Loud Decor
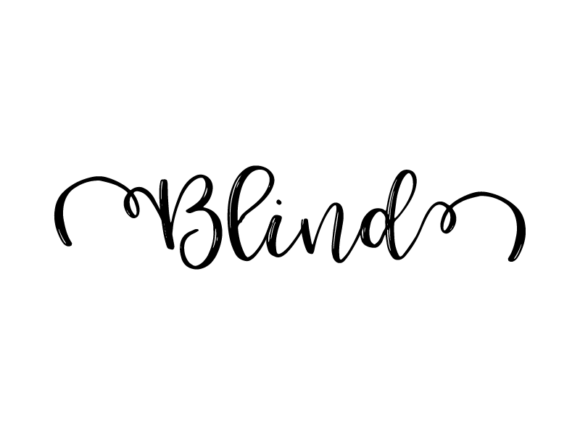
When I opened Blind Lettering, I didn’t see flashy outlines or aggressive kerning — I saw breathing space, intentional weight shifts, and a hand-drawn honesty that feels rare in vector lettering. It’s monochrome, yes, but not flat. There’s subtle variation in stroke thickness, soft terminals, and gentle irregularity — the kind you’d get from ink on paper, not an algorithm. That’s its strength: it reads as human-made, not machine-perfect. For embroidery, that translates directly into warmth. I immediately pictured it stitched onto a linen tea towel for a boutique kitchen line — not as a bold statement, but as a quiet signature.
Real Project Test: A Custom Embroidered Tote for a Local Bookstore
Last week, I used Blind Lettering to embroider “Chapter & Thread” onto a natural canvas tote for a neighborhood indie bookstore. No appliqué, no fill-heavy blocks — just clean satin stitch outlines and minimal interior detail. The result? Crisp at 3.5 inches wide, legible from six feet away, and undeniably tactile. Customers paused to trace the letters with their fingers. That’s the magic: Blind Lettering doesn’t shout. It invites. It works because it respects the fabric, not fights it.
Where It Shines (and Where It Needs Care)
Blind Lettering excels in projects where subtlety builds value — think personalized baby onesies (“Dream Softly”), minimalist aprons for bakeries, or pillow covers for calm nursery decor. Its low-detail nature makes it forgiving on textured fabrics like terry cloth, linen, or unbleached cotton. On sweatshirts? Yes — especially when stitched in matte cotton thread over fleece backing. On caps? Use caution: avoid tight curves near the bill seam unless you reduce letter height by 15–20%. Small hoop sizes (under 4x4”) work well *if* you keep the phrase short — three words max, or choose single-word variants like “Breathe” or “Rooted”.
It’s less ideal for stretchy knits (like lightweight jersey tees) without proper cutaway stabilizer — those soft curves can blur under tension. Dark fabrics demand high-contrast thread (e.g., cream on navy), and thin fabrics like voile need tear-away + light iron-on backing to prevent puckering. And while it’s lovely on tags and notebooks as a printed graphic, remember: as a machine embroidery design, its charm lives in restrained execution — not dense fill stitches or oversized flourishes.
Design Integrity Meets Customer Trust
What customers notice — and what keeps them coming back — isn’t just legibility. It’s how the finished product feels *considered*. When Blind Lettering is stitched cleanly, it signals care: careful digitizing, thoughtful thread choice, respect for the garment’s drape. That builds trust faster than any sales copy. For Etsy sellers or small shop owners, that perception lifts perceived value — a $28 tote with Blind Lettering feels like a curated object, not mass-printed merch. It also scales quietly across branding: use it on packaging tags, digital mockups, and even embroidered patches for employee aprons — all while keeping visual consistency without repetition fatigue.
Practical Notes Every Embroiderer Should Check Before Stitching
- Test first — Always run a sample on scrap fabric matching your final substrate (weight, weave, stretch).
- Review stitch density — This isn’t a heavy fill-stitch design; if your digitized version adds unnecessary underlay or dense satin, simplify it.
- Confirm hoop size fit — Measure your phrase length against your machine’s max hoop area before hooping.
- Inspect corners and joins — Hand-drawn style means some angles are softer; ensure your embroidery file preserves that flow, not sharp auto-corners.
- Try black-and-white mockups — Since it’s monochrome, preview how it reads on both light and dark backgrounds before committing thread.
- Choose stabilizer intentionally — Medium-weight cutaway for stable wovens; tear-away + light fusible for knits or delicate linens.
- Verify licensing — As a Graphics asset in the Print Templates category, confirm whether commercial use (e.g., selling finished embroidered totes) is permitted — don’t assume.
Not Just for Stitching — A Flexible Design Asset
Even if you’re not stitching today, Blind Lettering holds quiet power as a digital embroidery file foundation. You can easily adapt it for printable mockups, sublimation transfers, or vinyl cuts — its vector roots mean clean scaling. For craft business owners building cohesive collections, it pairs naturally with botanical line art or minimalist icons. For holiday embroidery? Try “Gather” on kitchen towels or “Still” on wool-blend blankets — phrases that resonate emotionally, not just decoratively.
The Bottom Line: Less Is Anchored, Not Empty
Blind Lettering won’t suit every project — and that’s its honesty. It’s not built for maximalist festival tees or glitter-embellished kids’ hats. But for makers who believe handmade means *felt*, not just seen — for those stitching slow, meaningful objects — it’s a rare find. It elevates a simple tote, calms a busy nursery wall, and gives quiet dignity to a personalized gift. In a world of oversaturated fonts and auto-generated designs, Blind Lettering reminds us that restraint, when rooted in craft, is never empty. It’s anchored.